
How does BillDee work?
From request to submission: 4 shop steps · 3 customer steps · 2 monthly steps
At the shop
 1
Customer requests a tax invoice
The customer requests a full tax invoice at checkout. Staff can collect company details later through the QR link.
 2
Photograph the receipt
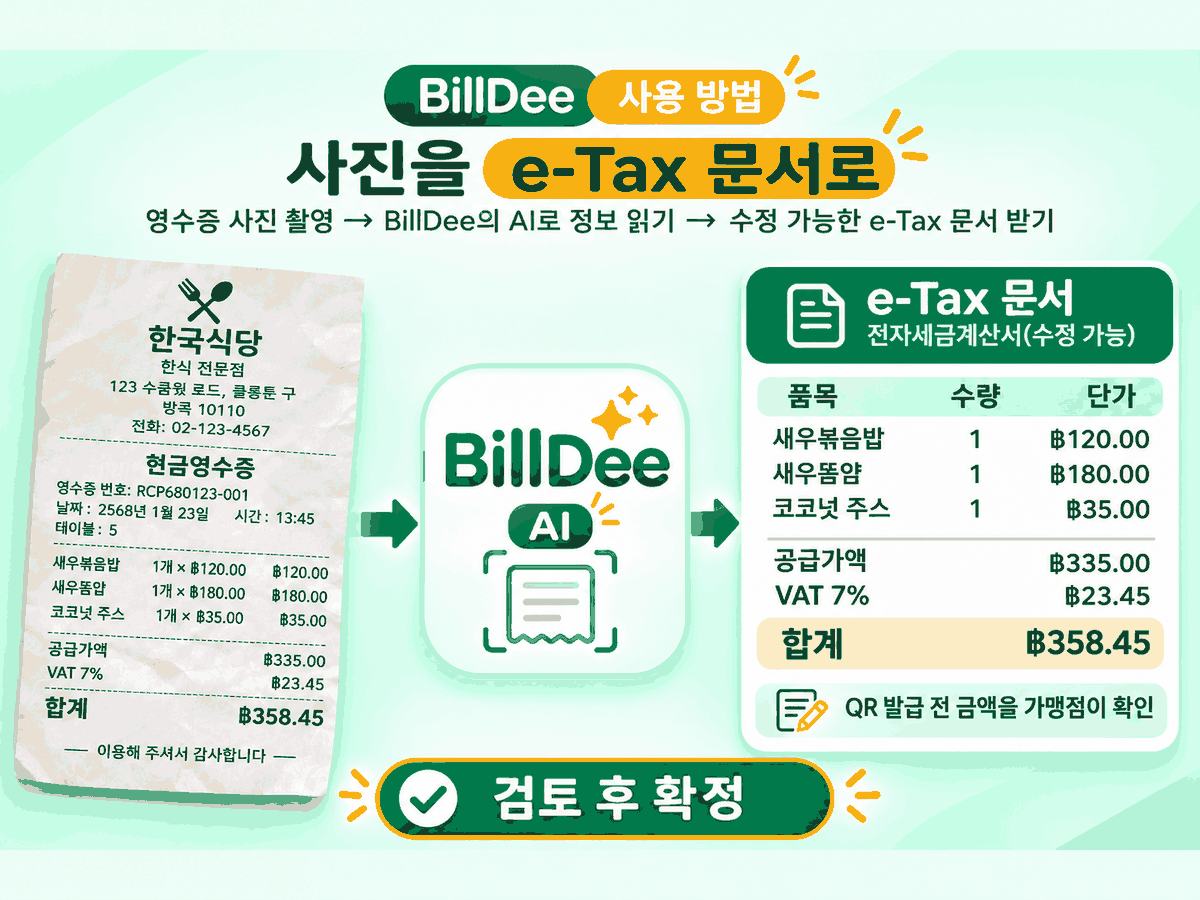
The owner or staff photographs the POS receipt or paper bill using a phone.
 3
Convert and review the e-Tax draft
AI extracts the items, subtotal, VAT and total. The merchant checks the details and amounts and can correct them before confirming.
 4
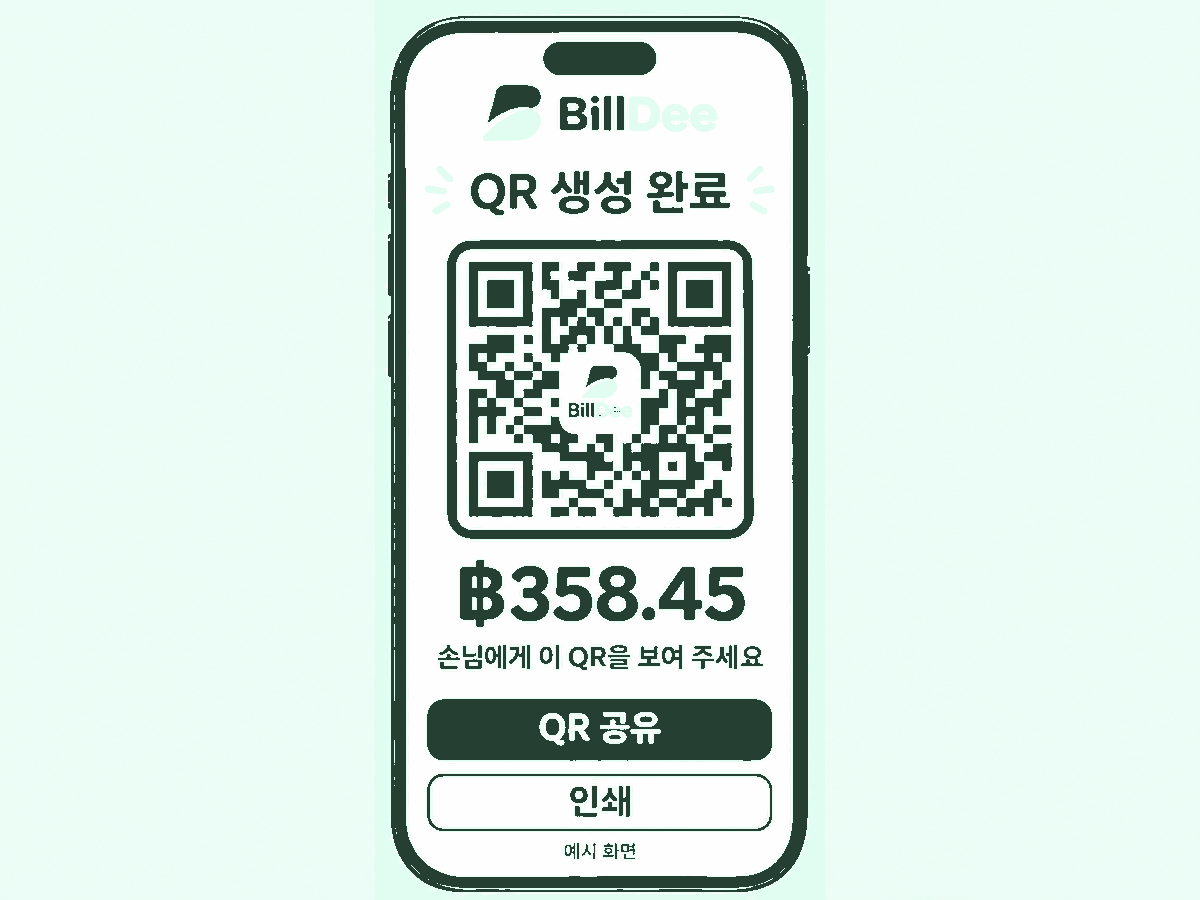
Generate the QR code
Generate a QR code for this bill. Display it on a phone or print it for the customer.
Customer
 5
Customer scans and enters the company tax ID
The customer scans with their own phone and enters their company’s 13-digit taxpayer ID.
 6
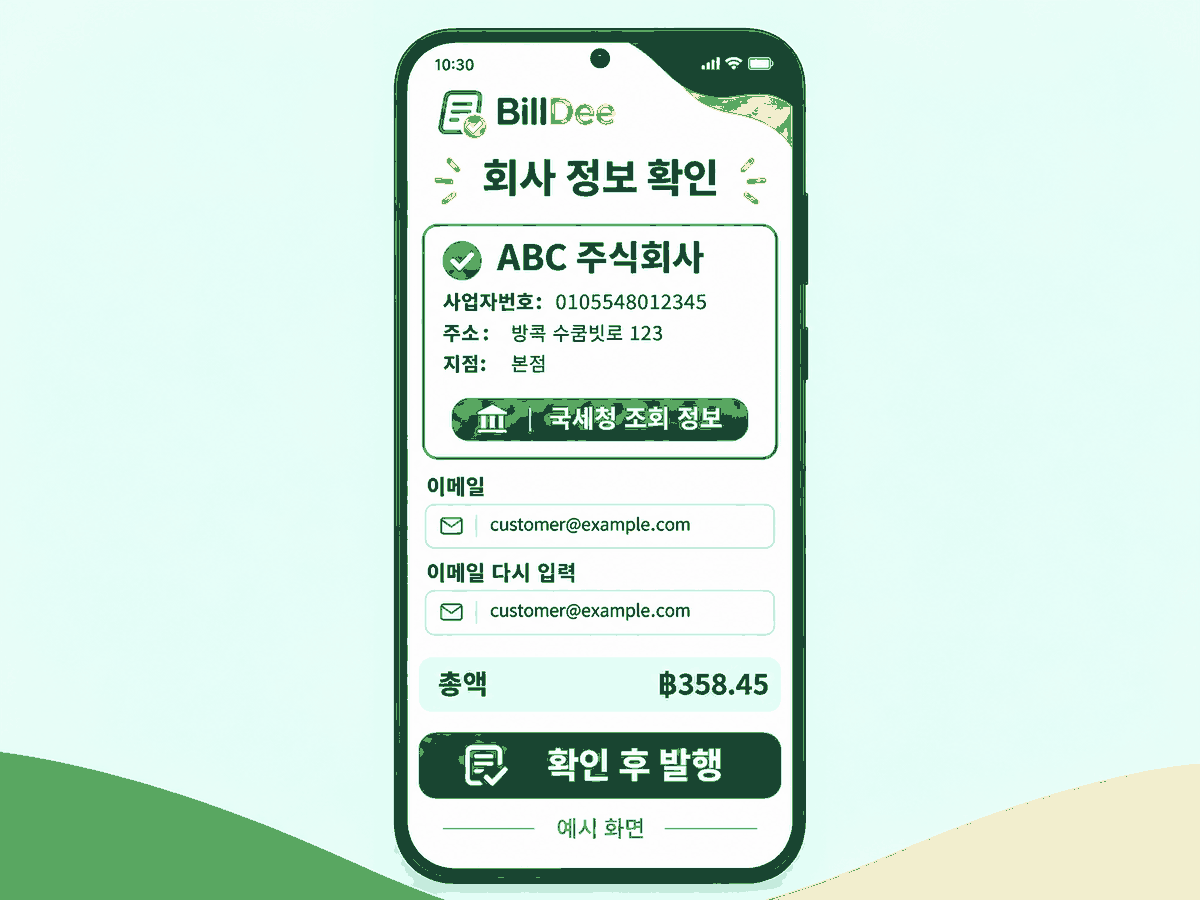
Check the company details
Registered company name, address and branch are filled in. The customer checks the details and enters their email twice before confirming.
 7
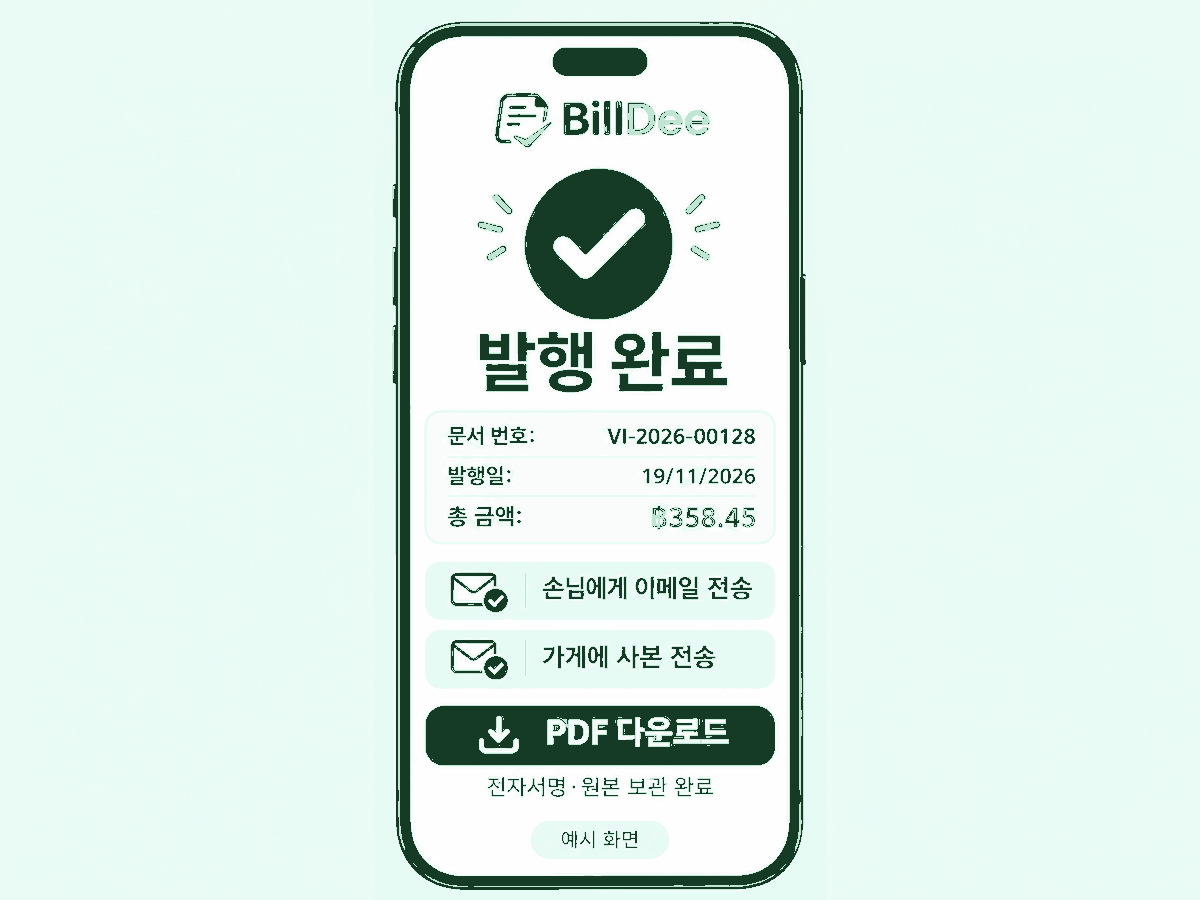
Confirm, issue and email both parties
On confirmation, BillDee digitally signs and archives the invoice, then emails the PDF to both the customer and the shop.
Every month
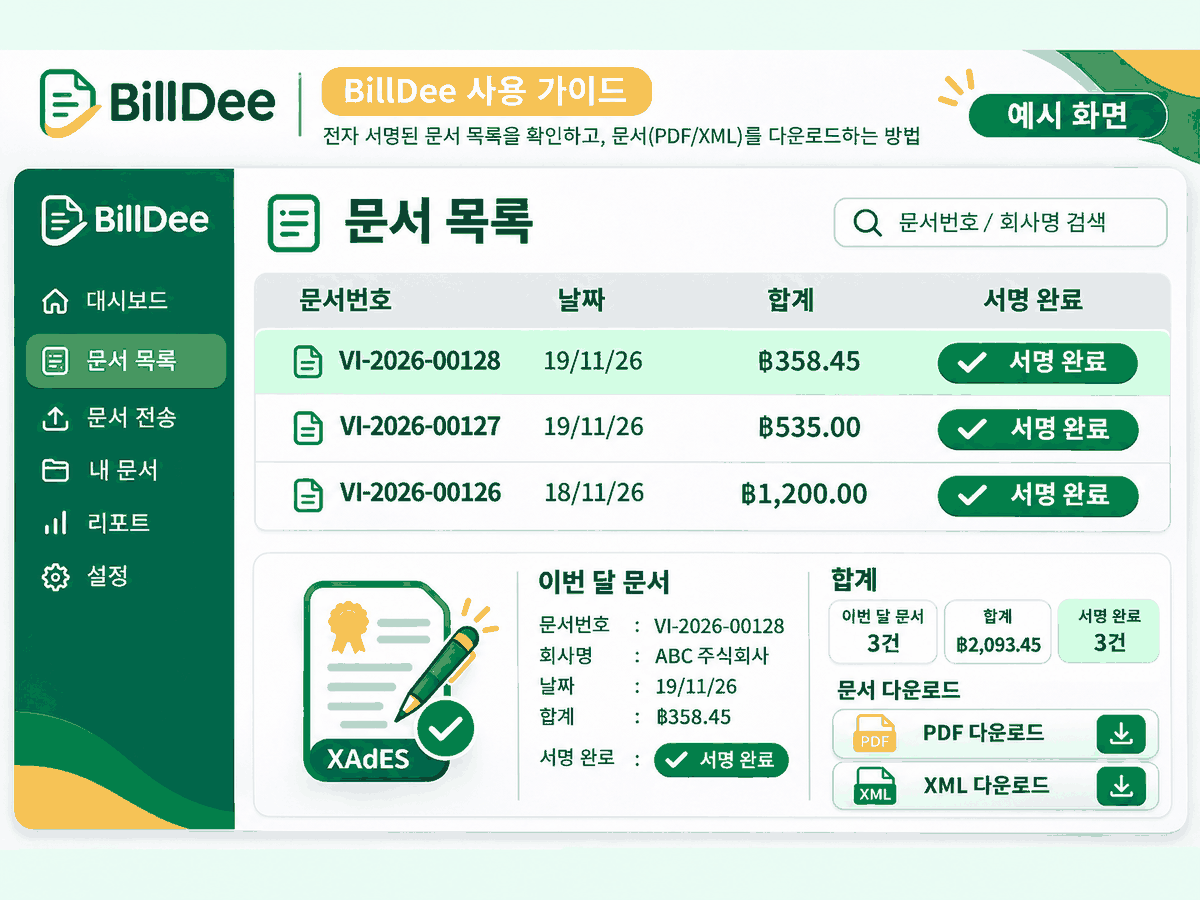 8
Find the signed document on the dashboard
Find the issued, digitally signed document in the BillDee dashboard and download its PDF or XML.
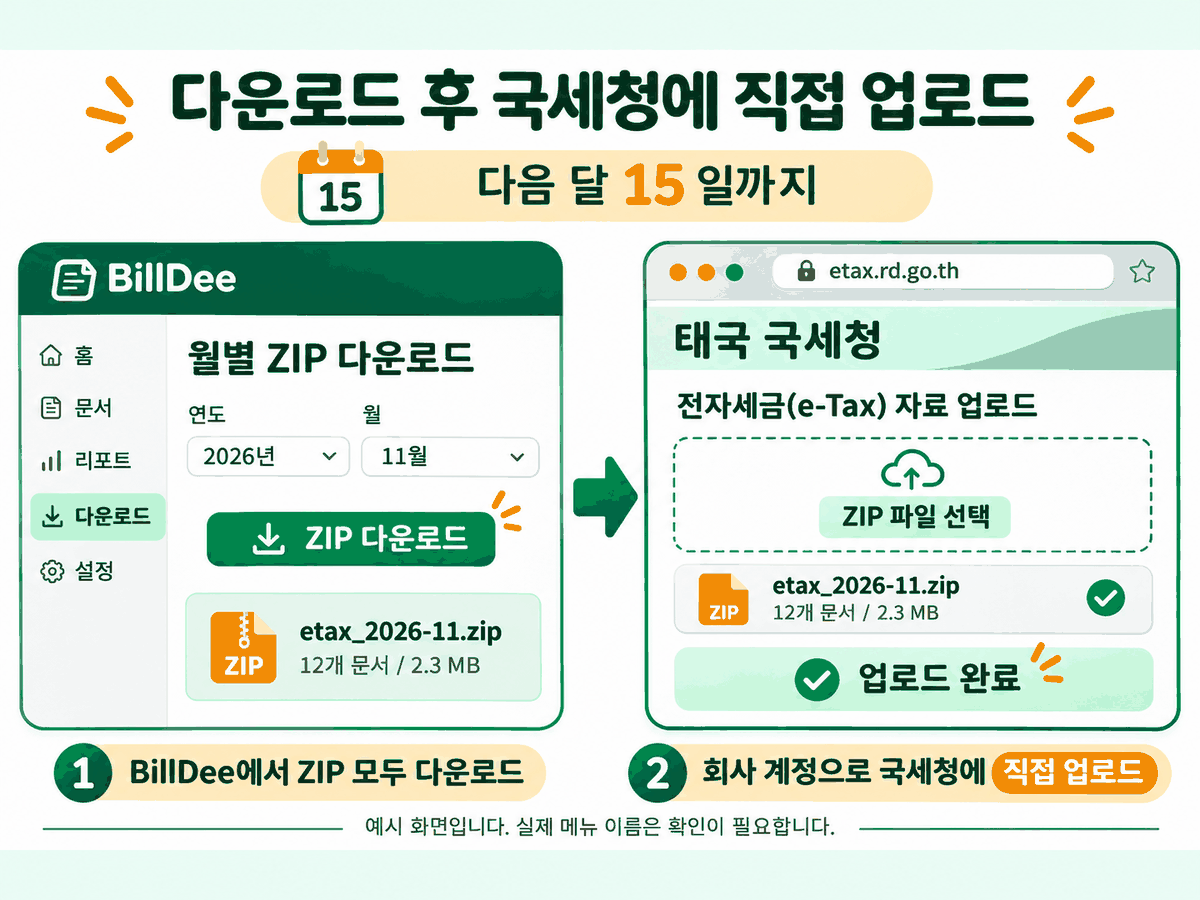 9
Download and submit by the 15th
Download every ZIP part for the previous month and upload the files yourself to the Revenue Department e-Tax portal by the 15th of the following month.
Submission guide
Five steps to get started
What is an e-Tax Invoice?
An e-Tax Invoice is prepared, delivered and retained electronically under the Revenue Department’s standards. Your company signs and submits its own invoices.
Benefits of e-Tax Invoice
- Reduce printing and paper costs.
- Deliver documents by email.
- Catch formatting errors with automated validation.
- Keep electronic records without physical filing space.
First-time registration
- Prepare the company’s signing certificate, 13-digit taxpayer ID and an email address.
- Download Ultimate Sign & Viewer from the Revenue Department portal. Use the Windows program to submit and sign the registration form.
- Check the registration email and follow its instructions to set up the company account. The corporate user ID begins with CA followed by the taxpayer ID.